
Shahadat Robin
Software Developer, LemonHive
2 months ago
When developing any modern web application - monitoring and error tracking are essential to ensure a smooth user experience. One of the best tools for this purpose is Sentry.io - Which allows developers to track and resolve errors in real time. If you integrate Sentry into your app can save you a lot of time and effort in debugging and fixing issues.
In this article, we’ll walk through automatic configure Sentry into a Next.js project.
Hold on! Before jump into the installation process, make sure that you have created sentry account.
Sentry provides an official setup wizard that automatically configures everything needed for a Next.js project. This is the recommended way to integrate Sentry, as it reduces manual errors and ensures best-practice defaults.
Run the following command from your project root:
npx @sentry/wizard@latest -i nextjsAfter running this command, the wizard will ask you several things to setting up.
It will authenticate you with Sentry (via browser login)
/sentry-example-page) to test your Sentry setup?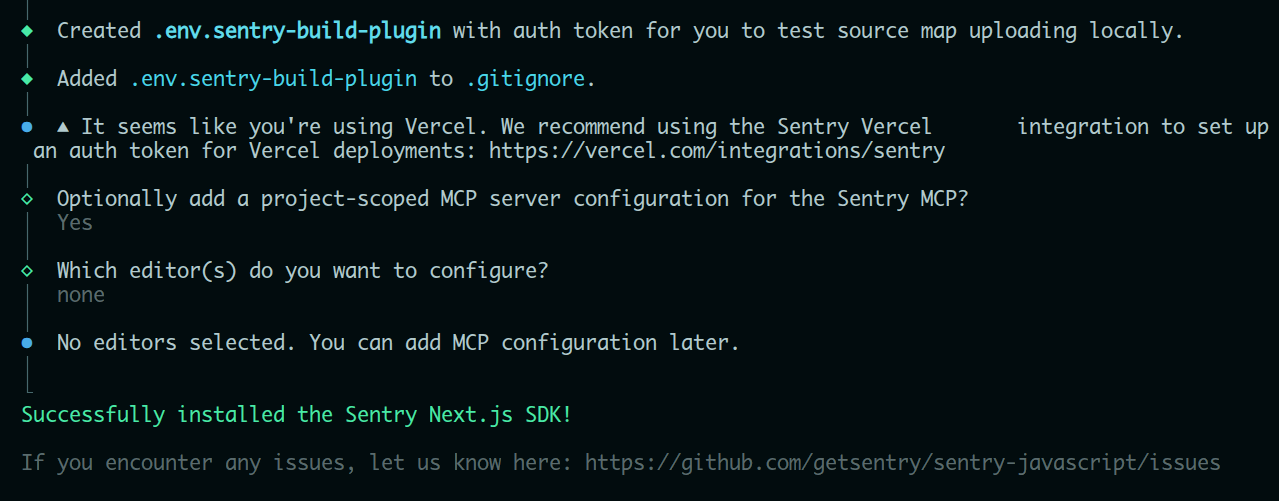
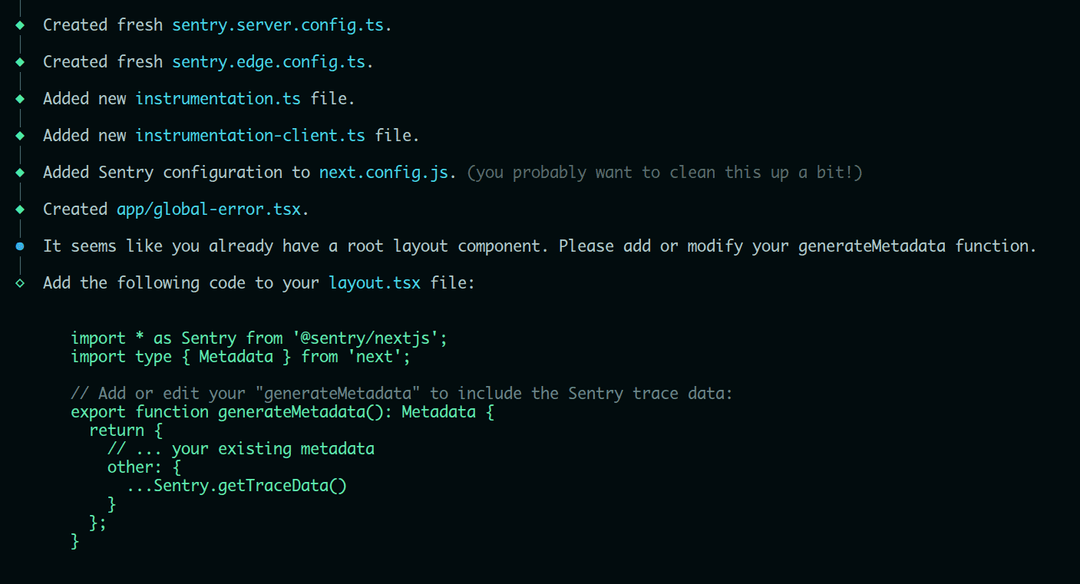
Once the setup finishes, you’ll notice several new or modified files in your project:
sentry.client.config.tssentry.server.config.tssentry.edge.config.tsnext.config.js.envTogether, these ensure error tracking works consistently across:
/sentry-example-page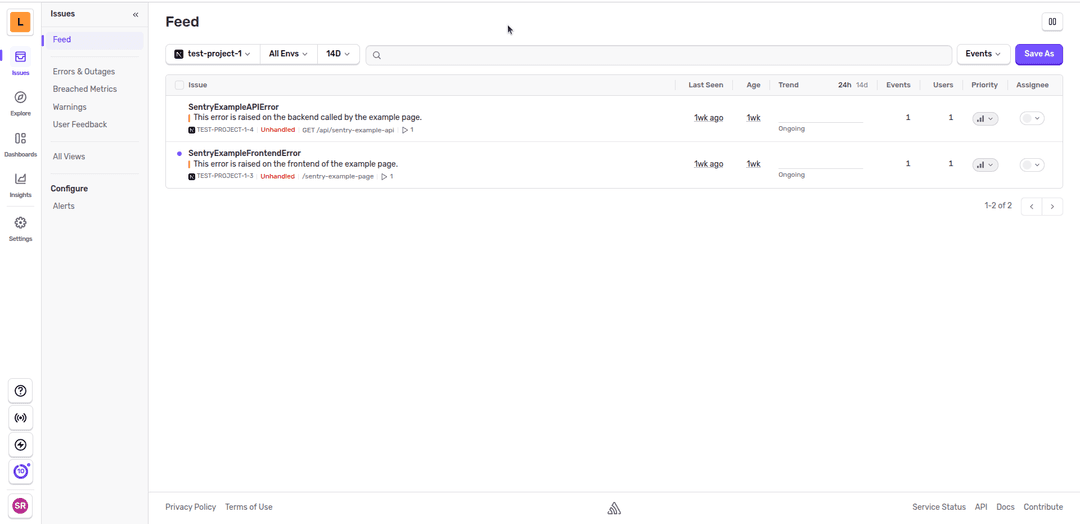
When integrating Sentry, you might notice that the setup wizard initially configures only SENTRY_AUTH_TOKEN environment variable explicitly.
That’s intentional — this token is mainly used during build time for Uploading source maps.
However, as your application grows, relying on a single implicit configuration can quietly limit flexibility. So instead of scattering configuration across files, I chose to centralize all Sentry-related credentials inside .env files, separating development and production credentials cleanly.
SENTRY_ORGANIZATION= #Go to Organization settings and copy the organization slug
SENTRY_PROJECT= #Go to Project settings and copy the project slug
SENTRY_DSN= #Go to Project settings → Client Keys (DSN) and copy the DSN value
SENTRY_AUTH_TOKEN= #Go to User settings → Auth Tokens, create a new token, and copy it
Each of these serves a distinct purpose:
SENTRY_ORGANIZATION - Identifies which Sentry organization owns the project.SENTRY_PROJECT - Specifies the exact project where errors and performance data should be sent.SENTRY_DSN -The public-facing connection string used by the client and server to send events.SENTRY_AUTH_TOKEN - A sensitive token used during build-time tasks.Sentry isn’t just an error tracker — it’s a feedback loop between production and development. The earlier you integrate it, the more context you preserve, and the fewer blind spots you’ll have once real users start interacting with your app.
Next.js already gives you powerful abstractions.
Sentry helps you understand when — and why — those abstractions crack.
Happy monitoring...